Friday, December 28, 2012

Starlight Mint platters and bowls

I saw an idea on Pinterest to make serving platters using starlight mints. It looked so cool...and easy!

Well, it was...and wasn't.

It was easy to do and they turned out pretty neat, but not like the pictures online.  They are definitely one of a kind, though.  Unique.  I still like them and am a bit obsessed with getting them perfect.  I'll have to raid the after-Christmas sales to stock up on starlight mints for next year.

So, preheat your oven to 350 and arrange the mints on parchment paper (on a cookie sheet) in whatever shape you want them to slightly resemble , I mean, look like when finished.  Bake for 6-8 minutes, depending on your oven and how melted you want the candies.  Warning:  They can go from almost ready to oops, in just a matter of seconds, so you just have to experiment with the time.  I let them cool for about 5 minutes on the pan and then slid the parchment onto my counter for a few more minutes.  Carefully peel the parchment away and voila, your candy platter.

This is my first attempt 


First one finished - not bad.  Kinda groovy on the edges.  


Second attempt


First and second finished

I tried some smaller versions, which were okay, but the ones I made larger worked out better.  
When you take the mints out of the oven, they are liquefied.  As it cools, it becomes moldable, so Michael and I got the bright idea that we wanted to try and make a bowl.  So, we brainstormed and decided to spray a small metal mixing bowl with some vegetable oil and while the mints are still warm, flip the parchment over and form it around the bowl.  Peel the paper away and let it cool completely and then carefully remove the mint bowl from the metal bowl.  


It worked...pretty much  :-)  

I can't wait to work on this some more next year.  I need to look and see if there is an acrylic sealant on the market that is food safe.  If you know of one, please comment and tell me all about it!

Friday, December 21, 2012

Oh, Pinterest, how do I love thee...

*I was going to do a post about the horrific events in Newtown last week and how it affected me both as a former public school teacher and more importantly, as a mom - they were all Julianna's age, but I've decided not to.  I refuse to read or watch any more news reports.  I just pray that God continues to wraps his arms around all those involved in this tragedy:  parents, staff, students, emergency workers, the community...and our nation. sigh*


If you've talked to me for longer than five minutes, you have heard me say "Oh, I saw this thing on Pinterest..."  I love, love, love Pinterest.  
Love.
I wanted to share with you some of my favorite pins for this Christmas.

Starlight Mint serving tray
(I will be posting separately about making these...and my unique creations. They are one of a kind.)

(How neat, huh?  Everything thing you might need in a cute little bag.)

(Yum and double yum!  Was sooooo goooood!)

(You draw a Christmas scene (when given specific instructions) on the bottom of a paper plate.  This was a lot of fun...and the pictures turned out pretty good!) 

(I had this planned to do at our Sunday School Christmas party and we ran out of time.  So bummed! Looks like fun.)

(I hope the hubby doesn't see this before Christmas.  This is sort of his "big" gift. Now to figure out the date nights...)

I'm sure there's more, so we might have a part 2 to this post, but someone is bugging me to feed her breakfast.  As if!  Lol  

Merry Christmas, Friends! 

Thursday, November 15, 2012

TOS Review - Teach Kids to Sing

This is my last review of the year...I think, I better check.  Whew!  Yes, last one.  :-)  A new set of reviews will begin after the new year.  We get to take a break over the Holidays.  Yippee!

Julianna is very musical.  As I type this, she is practicing her piano, albeit reluctantly.  Her father and I neither one are musically inclined.  (Well, we're not musical instrument inclined.  Her dad was a voice major in college for a little while.) Not completely sure where her musical instrument gene came from, but there it is.  She also likes to sing, so I thought it would be a good opportunity for her to learn some proper techniques to use.  Enter Teaching Kids To Sing by Chris and Caroll Beatty.
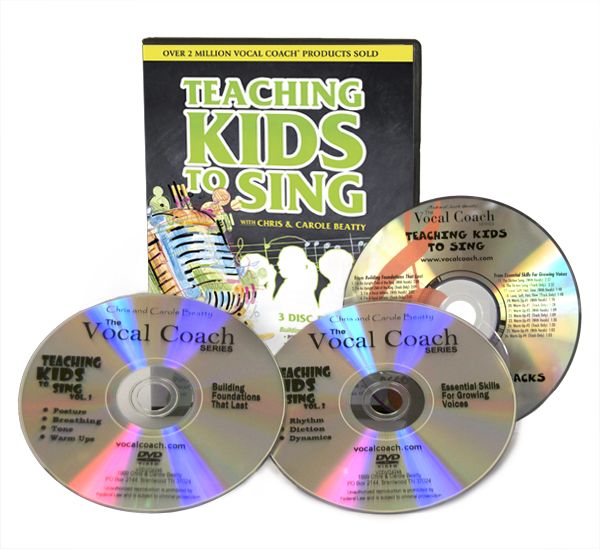
This DVD set is part of a series of singing products from Vocal Coach.  The Beatty's have been teaching people to sing for over 40 years.

The Teaching to Kids To Sing is a 3 DVD set geared for ages 5-13:
Volume 1:  Building Foundations That Last (Posture, Tone, Breathing, Warm Ups)
Volume 2:  Essential Skills For Growing Voices (Rhythm, Diction, Dynamics, Vocal Health)
Volume 3:  Accompaniment Tracks CD (26 accompaniment tracks with and without background vocals)
My Musings:
I thought the DVDs were really informational.  I learned quite a bit, actually!  The lessons weren't too long and they kept Julianna's attention because kids were used.  One lesson was teaching about good breathing and used blowing a balloon up as a demonstration.  It really showed how constricted your airway is if you aren't using good posture.  The balloon was much more difficult to blow up when you are hunched over rather than standing straight.  I mentioned before that Julianna is taking piano lessons.  She's doing great with them except she tries to play everything as fast as she possibly can.  Drives me crazy!  I am hoping what she learned in the rhythm and tempo section will generalize into her piano lessons, as well. 

If you have musically inclined kids between the ages of 5-13, check out Teaching Kids To Sing (it is listed at $44.95).  If your kids are older (or you, as a choir member want to learn some good techniques) look at the Vocal Coach website at the products they offer.  They also have a section on how to use them in your homeschool.

You can see what the other members of the Crew thought about the Vocal Coach products:
Photobucket


*Disclaimer - As a member of the TOS Homeschool Crew, I received a the Teaching Kids To Sing DVD set in exchange for my honest review.  No other compensation was given. *

Wednesday, October 31, 2012

TOS Review - Science in a Bag

Science is a favorite subject in our house.  At this moment, I have three science experiments on my kitchen counter:  a sprouting ear of Indian corn (it has begun to sprout, but it is taking for-ev-er, so that experiment may be scrapped if it doesn't get a move on), lima bean plants and a container of oobleck that we used last week at our Co-op.  We, ahem, Julianna has been playing with it almost daily.  It is totally cool stuff.  If you like Science (and simple experiments to go along with it), then I have some good news to share with you:  Science Experiments in a Bag e-books, volumes 1-3.

 
Activity Bags was started by two homeschooling moms, Paula and Sherri, as a way to keep their preschoolers occupied while teaching their older kids. They came up with activities, got together with other moms, put all the materials for the activities in bags and did a swap.  It was such a success that it grew from the Preschool Activity in a Bag books to a product line that now includes Reading, Math, Travel, and Science for grades K-6 and Daily Activity Journals (with writing/activity/grammar work) for 3rd - 7th grade.  They also have a Coordinator Handbook (free download) available to help you organize your own swap.

My musings:
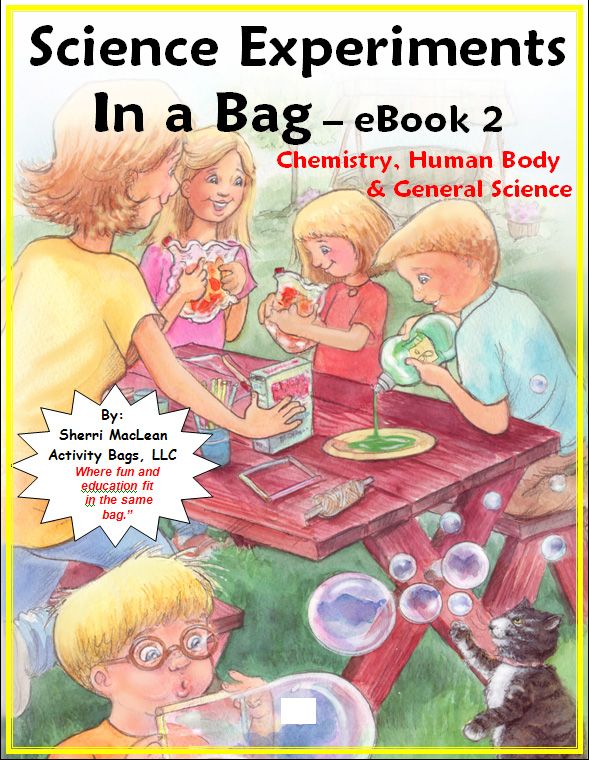
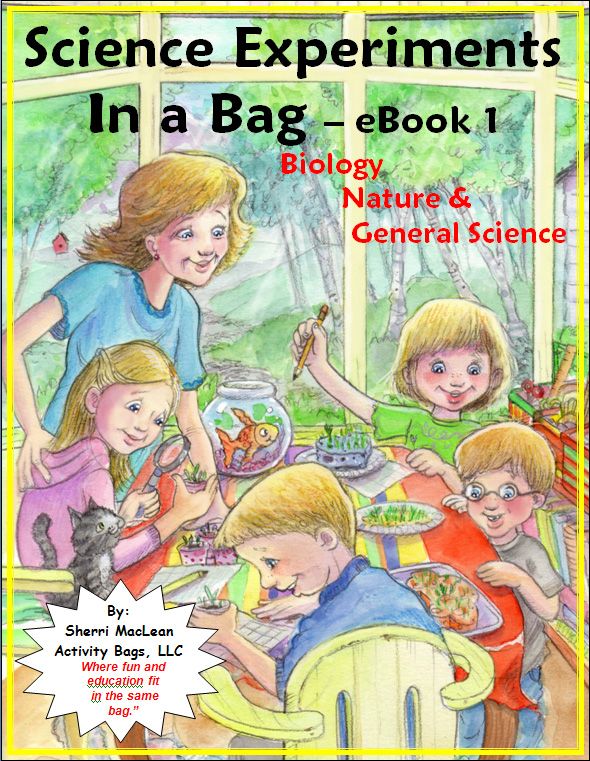
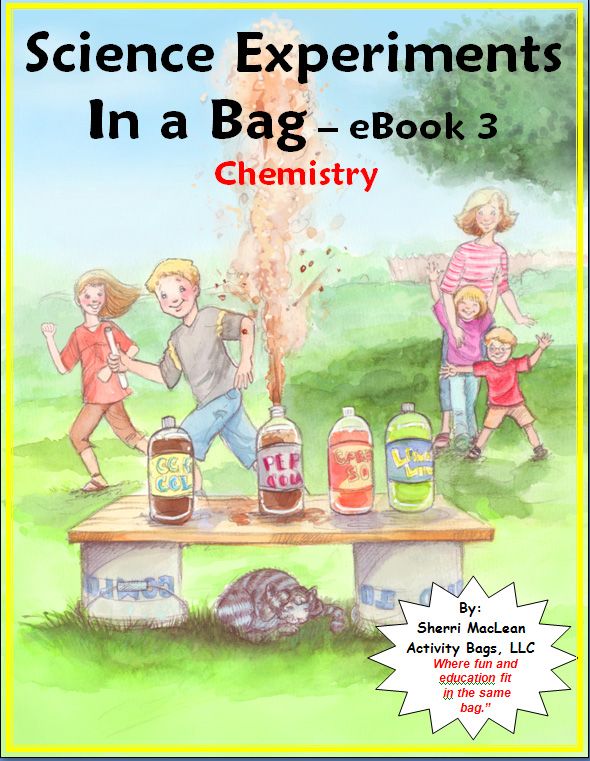
We received all three of the Science Experiments in a Bag e-books to review.  Each one covers different scientific areas:  Book 1- Biology, Nature and General Science,  Book 2 - Chemistry, Human Body and General Science, Book 3 - Chemistry.  Each book has 25 detailed experiments that you can do or you can gather the supplies for and put them into a ziplock bag to complete at a later time.  One of the cool things about the books is if you are planning on coordinating an activity bag swap, each experiment gives the supply lists for 1, 10, 15 or 20 bags, so all the figuring of supplies is done for you.  Less I have to plan out things the better.  We tried experiments from each book and found them all to be pretty fun and easy to do.  We did volcanoes (with baking soda/vinegar, mentos candy in diet soda (a favorite!), made butter and stuck a wooden skewer through an inflated balloon.  The majority required items we had on hand, but you might have to plan ahead for some.  I tried to get pictures, but failed miserably.  I almost had one of the balloon, but it deflated before I could get it snapped and when we tried again (or two more times), the balloons burst.  I did work once though!

Individually the e-books cost $15, but you can get books 1-2 (in the same series) bundled together for $27.  You can get a free sampler activity bag set for filling out this survey on their website.


Photobucket
* Disclaimer - As a member of the TOS Homeschool Crew, I received a set of the 3 Science in a Bag e-books in exchange for my honest review.  No other compensation was given. *

Thursday, October 25, 2012

TOS Review - Crossbow Education

I will admit, when I read the company name, Crossbow Education, I thought about all the years I had to endure deer hunting season growing up. *sigh* Can't take the West Virginia out of the girl after all.  :-/ (A crossbow is a type of hunting bow which is why I made the correlation. I always said I would never marry a hunter or fisherman.  I am happy to report that I did not. No offense to the hunter/fisher wives out there. ;-) )   Alas, I'm happy to report that all the deer population in my neck of the woods is still safe from me.  This company has nothing to do with hunting at all, they have instead created an awesome little product called the Reading Ruler.
Crossbow Education is a Christian company (corporate offices are based in the UK with a smaller division in the US) specializing in products geared towards assisting students with Dyslexia.  (I am starting to wonder if Julianna is dyslexic.  Still trying to figure things out about that.)  
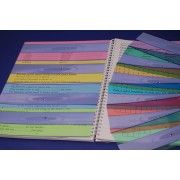
We were able to try out the Eye Level Reading Ruler.  The ruler (which comes in 10 colors) can be flipped and used to highlight a single sentence on one side or multiple sentences on the other side.  

Here is a description of the Reading Ruler from the Crossbow website:

The Eye Level Reading Ruler is a colored overlay text highlighter about the size of a six-inch ruler. Discreet and portable, the reading ruler is made of a combination of opaque and transparent plastic that both underlines the text and highlights it in a coloured tint. Simply read the text through either of the tinted plastic strips of your selected color, and track down the page: broad strip for paragraphs; narrow strip for single lines.
My Musings:
At the beginning of our new school year I got Julianna a similar product to help her focus on the text she was reading.  It was about the same size, but it only highlighted one single sentence at a time.  While I thought it was definitely beneficial and we used it frequently, it didn't help with her reading fluency because she could only see the single line.  Being able to read several sentences without sliding the ruler down each line is probably the thing that has helped us the most.  We have tried a variety of the colors, but I haven't noticed any advantages of one over another.  I wish I could say it has solved all of our struggles, but it has helped her to focus more on the words.  If your kiddo needs help staying focused on text, I would definitely recommend trying the Reading Ruler, available at the Crossbow Education website in packs of 5 for $9.45 or 10 for $16.95. 

Photobucket

* Disclaimer:  As a member of the TOS Homeschool Crew, I was given a set of the Eye Level Reading Rulers in exchange for my honest review.  No other compensation was received. *

Friday, October 19, 2012

Fall Days

I love all things Fall!  
Cooler weather, turning leaves, apple cider, college football, and everything pumpkin flavored and scented.
(Just to prove that point, I am sipping Pumpkin Spice coffee as I type this post. It's yummy!)

Here are some pictures of things we've been doing so far this Fall:

Julianna getting ready to enter her zucchini in the county fair.

Barbie's sisters decided to re-enact some of our History lessons.


Trip to the Pumpkin Patch


We had to hunt (and hunt) for the "perfect pumpkins".  She found one for Dad that was "tall and responsible".  Lol

Pinterest inspired Science experiment, sprouting Indian Corn.  I'll post more pictures if it works.  


Cleaning out the pumpkin guts.

Julianna and Dad having a snack.

Her carved pumpkin.  We put a glow stick inside (which worked well), but it didn't last long...or photograph well.  

Happy Fall, Y'all!